Good morning Rabbits – well it’s the last day of the month today and I thought it was time to get making some cards for Easter. I hope you practiced some of those key words from the spelling list to avoid making little mistakes.
I have photographed myself making the card in a step-by-step method and also written down the instructions below. Good luck!

 ds
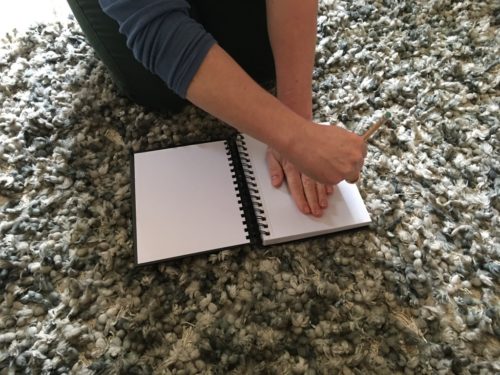
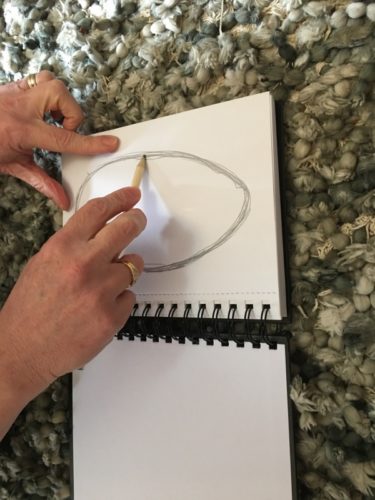
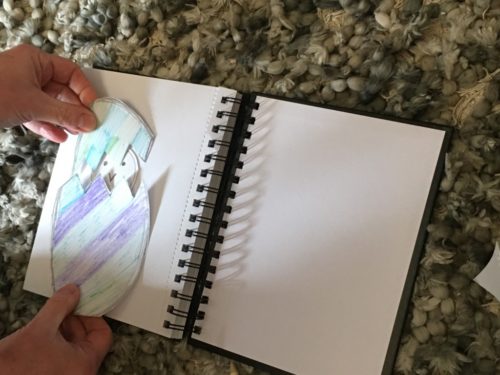
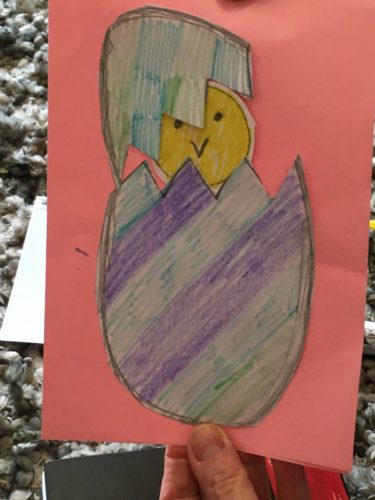
dsCard making: Take some paper and draw an oval shape. It needs to be about the size of your hand. Put your fingers together and draw around the outside of your hand then ‘perfect’ the shape by re-drawing until you have the correct egg-shape.
Draw a zig-zag line towards the top – as if the top of the egg is cracking open.
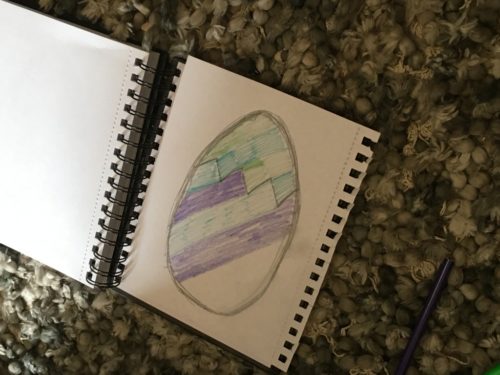
Colour your egg in any design you like.
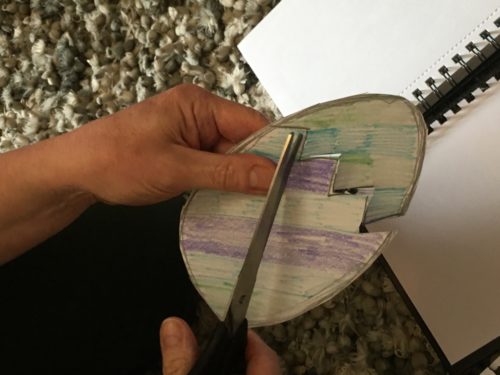
Cut the zig-zag lines so that you have two pieces of egg now, cut open as if you have cut the top off a boiled egg.
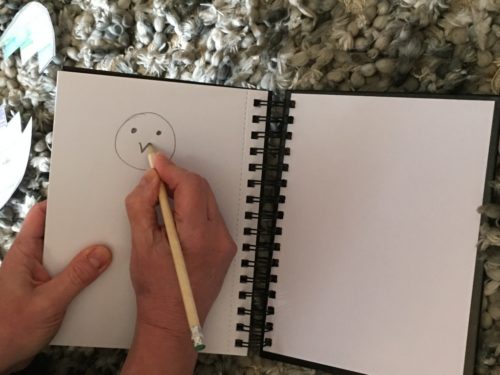
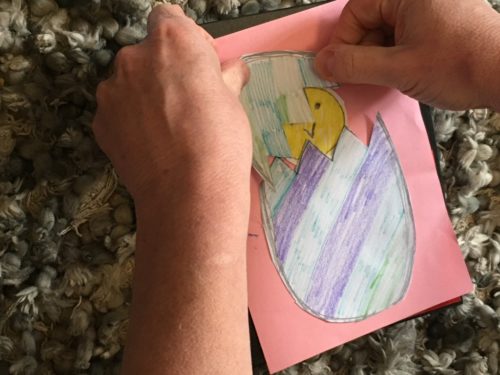
Now draw a little chick’s head. A circle and a beak, 2 eyes and yellow fluff or coloured pen/pencil.
Stick the chick at the top of the egg as if it is poking out of its egg. When you are happy with the position you can then stick the top of the egg onto the chick’s head.
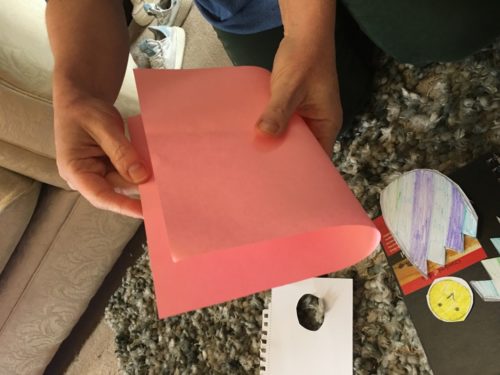
Fold a piece of paper into a card shape, stick the egg and chick onto the card. The rest is up to you! I have included photos of the activity for you to follow.